
How I Built a Chrome Image Downloader Extension
This is the story of a small annoyance about right-clicking to save images, and of building a Chrome extension with a friend from the first line of code to the point where it was ready to ship. The most interesting part technically is everything that looked simple and turned out not to be once we actually started.
It all started with a tiny annoyance
Have you ever been browsing Instagram or Pinterest, seen a beautiful image you wanted to keep, and found that saving it means right click, pick “Save image as”, wait for the dialog, choose a path… the whole thing tedious enough that you lose patience partway through?
That was exactly my problem last year while collecting design references. As a developer, my first reaction was: “there has to be a better way.”
I was gathering material for a design project and needed to download a lot of images from all sorts of sites. The right click routine got irritating fast, especially once I noticed the images I saved often weren’t the highest resolution version available.
“Why can’t it work like a phone app, where you long press and the image is saved?” I thought.
From an idea to the first line of code
One weekend afternoon I decided to fix it. The initial idea was simple: build a Chrome extension that lets you save an image quickly by hovering and clicking.
I shared the idea with my friend Felix Falkenberg (@ffalkenberg), an ML engineer and DevOps specialist. He lives as a digital nomad and has a sharp nose for efficiency tools, and he saw the potential immediately.
“That’s a real pain point,” Felix said. “We could build this together. Neither of us has ever shipped a Chrome extension to the store, so it’s a decent exercise.”
I’d written a few Chrome extensions before, but all of them stopped at the practice level. I’d use one myself for two days, then put it on ice, and none of them ever reached the store. What was different this time is that from the start we meant to build something other people would use.
Once we started digging in, we found that this “simple” idea had quite a bit of trouble hiding behind it.
The first challenge: detecting hover
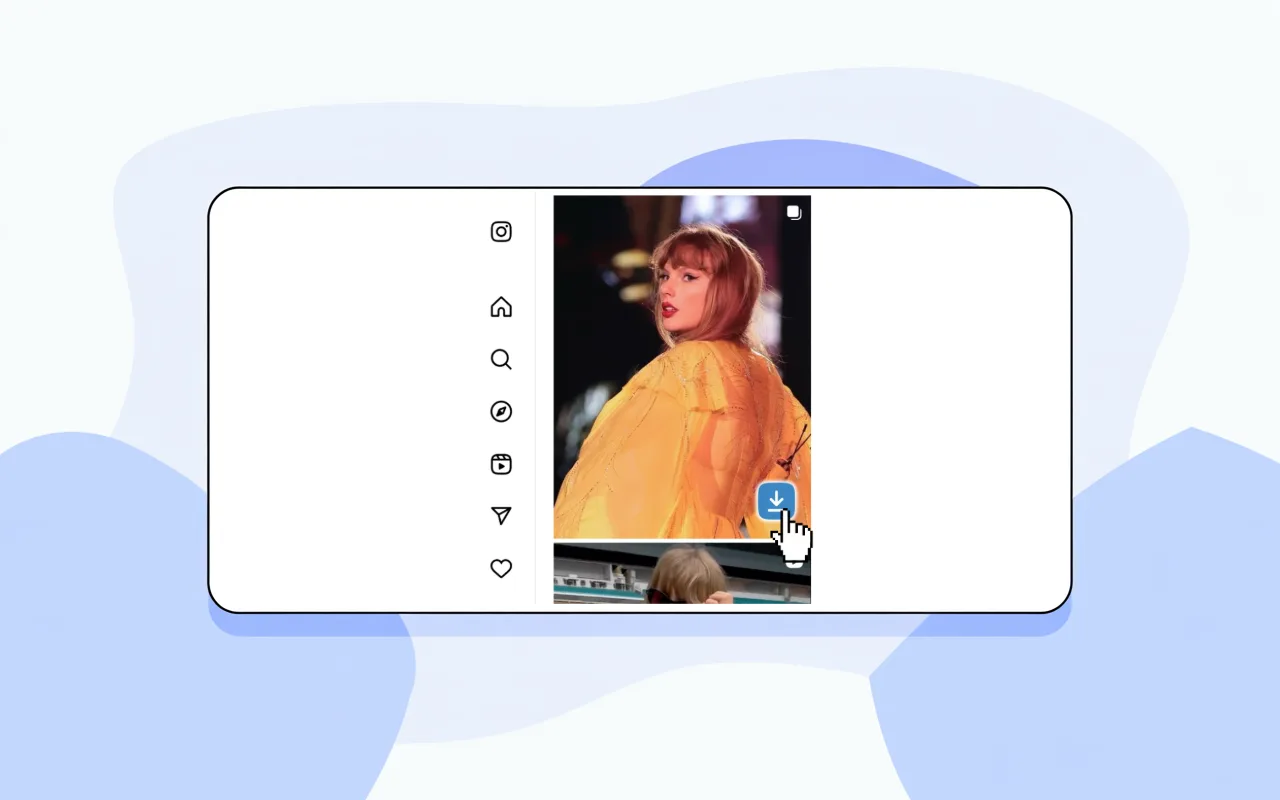
Here’s what the finished product does: hover over any image and a download button appears in the bottom right corner, one click and the file is saved. Getting that button to appear reliably was far more trouble than it sounds.
1 | // First attempt: the naive approach |
Looks simple, right? Actual testing produced one problem after another:
- The button flickered constantly
- Performance problems made pages stutter
- Some images were never detected
- The button showed up in the wrong place
It made me realize that doing a seemingly simple feature well involves far more detail than you’d expect.
Down the rabbit hole: event optimization
After a few days of reading and testing, I learned why event delegation and debouncing matter:
1 | // Optimized version |
The biggest challenge: finding the highest resolution image
Once the basics worked, we ran into the real technical challenge: many sites display a thumbnail, while what the user wants is the original size. That apparently simple requirement turned out to be the most complex part of the whole project.
The Google Images puzzle
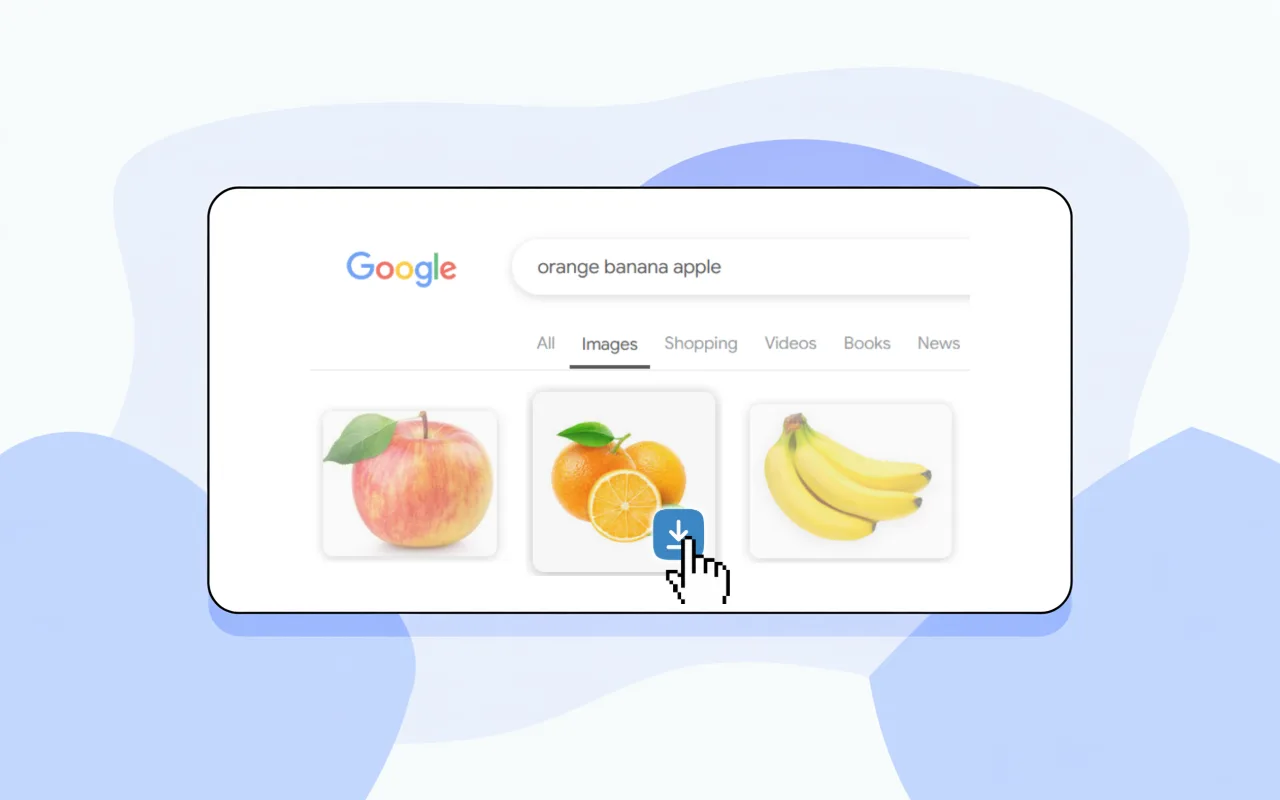
Google Images was the hardest case we hit. The src attribute on the image element you see points only at a low resolution preview, while the real high resolution URL is buried deep in a complicated DOM structure and a set of data attributes.
I spent a full week studying the page structure of Google Images, chasing every possible lead like a detective:
1 | // Google Images high-res detection: the final version after endless trial and error |
Every site is a new puzzle
Then we found that every major site has its own logic for storing images:
- Instagram: the high resolution image hides in
data-*attributes, but the attribute names change - Twitter: you modify a URL parameter to get the large version (
:largevs:small) - Pinterest: the original URL is hidden inside a complicated JSON structure
- Facebook: image versions nested several layers deep, requiring a recursive search
Each site needed its own resolver:
1 | class ImageResolver { |
Unexpected user experience challenges
With the technical problems solved, we started running into user experience problems we hadn’t anticipated.
Positioning a draggable button
At first we pinned the download button to the top right corner of the image, and problems showed up quickly:
- On small images the button was overbearing
- It sometimes covered something that mattered, a watermark or text
- CSS from different sites interfered with how it rendered
We decided to make the button draggable, which brought a new technical problem: how do you keep the button inside the bounds of the image at all times?
1 | // Drag logic that keeps the button inside the image bounds |
Filtering out decorative images
During testing we hit something we hadn’t expected: a lot of sites are full of small decorative images, such as:
- 1x1 pixel tracking images
- repeating patterns used for background decoration
- loading placeholders
- CSS background images
A download button on those is useless and gets in the way.
1 | // Image filtering |
Visual feedback matters
I added careful animation and state indicators:
1 | .download-button { |
Those small details are what made the whole thing feel smooth and pleasant.
A friend’s feedback opened a second direction
When we shared the first version with friends, the feedback made us rethink what the product was.
“This is great! But I often need to download every image on a page. Could you add batch downloading?”
That suggestion opened things up. Felix and I realized this wasn’t just a single image downloader but a complete image handling tool.
“Batch downloading means real concurrency control and error handling,” Felix warned me. “We need to design the architecture for this carefully.”
The technical challenge of batch downloading
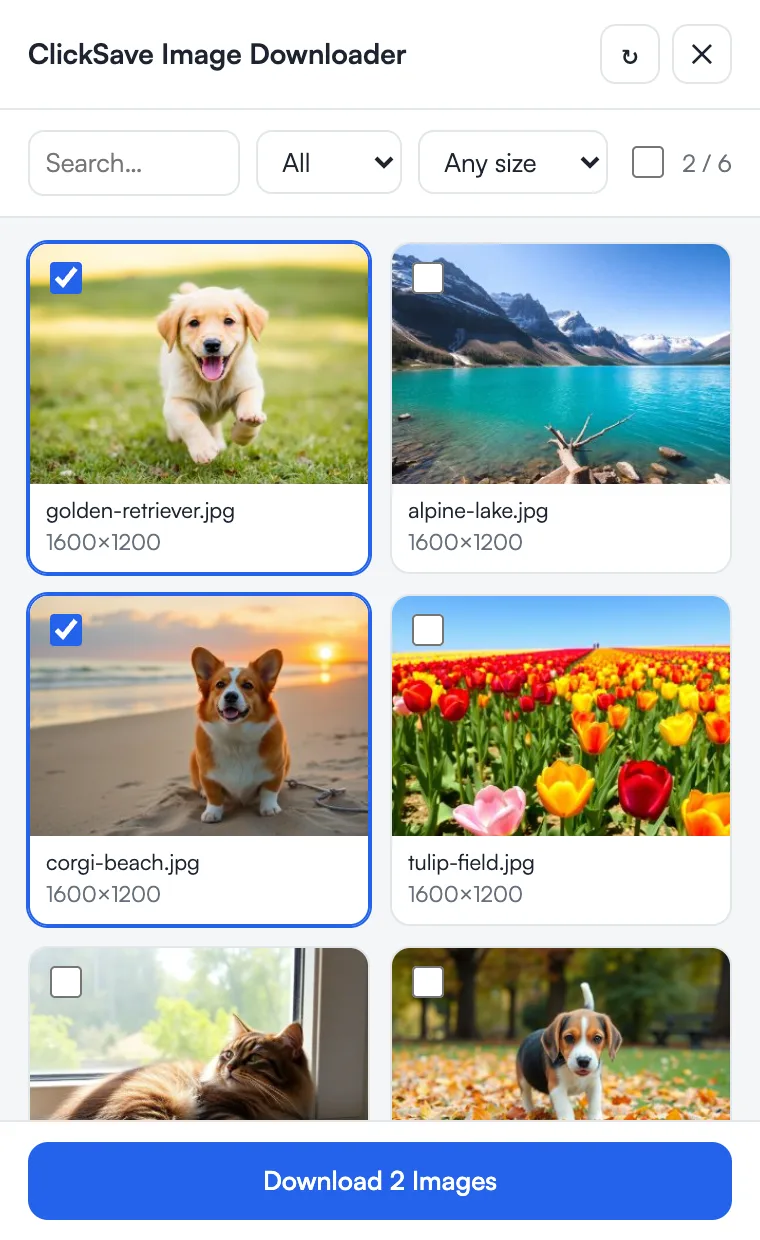
Batch downloading looks simple to implement and actually involves messy async work and error handling. We had to think about:
- not firing too many download requests at once, since the browser will throttle you
- handling the case where some downloads fail
- giving the user progress feedback
- avoiding duplicate downloads
1 | class BatchDownloader { |
Technical debt and refactoring
As features piled up the code got complicated and hard to maintain, so we refactored:
1 | // Before: one giant file, 500+ lines |
The motive was practical. Every new site we supported meant another handler, and if each one required finding a spot inside a 500 line file, the project wouldn’t survive to the tenth site. Once the modules were split apart, the cost of adding a site dropped from “understand the whole file” to “implement one interface”.
Looking back, what was actually hard
Writing a tool like this, the hard part isn’t any single technical point. Every site is working against you. The high resolution URL on Google Images hides in data attributes that change, Twitter distinguishes sizes by URL parameter, Pinterest buries it deep in JSON, and all of those structures can shift at any time. What you’re writing is not a feature, it’s a long running arms race against the frontend teams of every major site. That’s also why there are so many tools like this on the market and so few good ones: this kind of code rots, because the other side keeps moving.
The other thing I took away is the value of splitting the work. Felix asked questions from the ML and DevOps side, I answered from the architecture side, and a lot of the design got better through picking holes in each other. The concurrency control in batch downloading exists only because he questioned first whether the browser would simply cut you off. Both of us were shipping an extension to a store for the first time, but that complementarity talked most of the wrong turns out of existence before we wrote any code.
What’s next
The store review is done and ClickSave is live on the Chrome Web Store. A few directions we want to go: Felix is looking at AI image processing, upscaling and background removal and that kind of thing, cross browser support for Firefox and Safari, and syncing settings across devices. Which of them actually happen depends on real usage data. Ranking them now would only be guessing.
One last thing
There are several extensions sitting on my computer that I finished and then put on ice. I learned something from each one, and then nothing came after. Halfway through this one I think I understood the difference: a practice project only has to get to “I understand it”, a product has to get to “nobody else has to understand it”. The first is the happy path plus a bit of curiosity. The second is 1x1 tracking pixels, data attributes that change, twenty kinds of decorative image with strange aspect ratios, and a user who will drag that button in a way you never saw coming.
You can’t feel the distance between those two until you actually walk the last step to the store.
If you have a few projects like that on your own drive, pick one and push it over that line. It’s a completely different sport from writing a new one.
Project links: